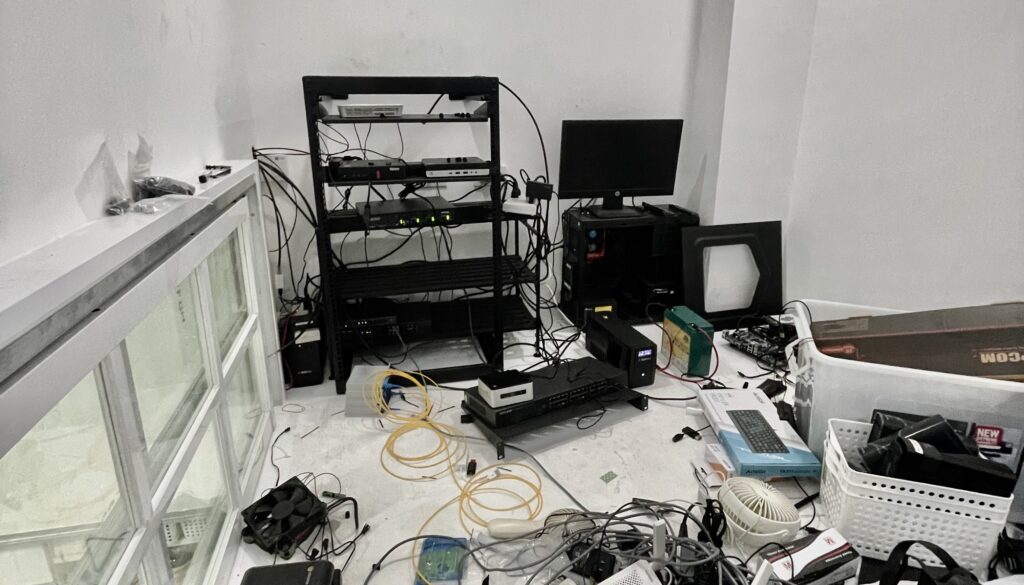
This was the state of my homelab. Whenever I go at my server room and attempt to arrange things, I get paralyzed how to get started.
Primary blocking reason is how I should handle supplying power. Currently I have 2 separate line-interactive UPS. One for critical internet-related devices, the other for optional servers.
My original plan was to make a DIY UPS using devices for solar. I “thought” it was cheaper. I planned to use:
- ATS (automatic transfer switch) if I have to have a maintenance, servers will keep running
- SNAT 1kw inverter – act like a line-interactive UPS
- Used LifePO4 battery
- Rack DIN rail for safety devices – ATS, breakers, DIN power plug
I already bought the components but assembling everything was daunting. I had a safety concern mixing high-voltage devices to the same rack as the server. The rack DIN rails would also have exposed live wires and I wasn’t comfortable with the plan. I purchased before I thought through the plan.
I was in a limbo on how to proceed. My homelab has been in this state for more than a year.
Finding a reasonably-priced On-line UPS

I finally found a reasonably priced online UPS. It’s on-line meaning it has double conversion 230v AC -> 24v DC -> 230v AC. Any power fluctuation won’t reach the devices.
It’s KSTAR YDC9101S RT. It’s only 900w as I don’t intend to run anything more than that. It has a user replaceable battery. It can be replaced while plugged-in. And it can be rack-mounted!
Cost is 10k, including shipping. This is cheap as compared to other on-line UPS I checked. Second-hand UPS without battery is easily around 20k. So I bit the bullet and purchased it.
A proper UPS, finally.
Plan of action
I knew I’ll rabbit-hole to something else when I start working on my homelab. There’s always something else to do. What I did was list what I wanted to accomplish for the day and limit myself to 2 hours.
- Remove 2 line-interactive UPS
- Remove shoe rack
- Remove TP-Link 16-port Swtich
- Install KSTAR UPS
- Install 10GBe Netgear Switch
- Install rack drawer
With a clear plan of action, I started.
Removing deprecated stuff
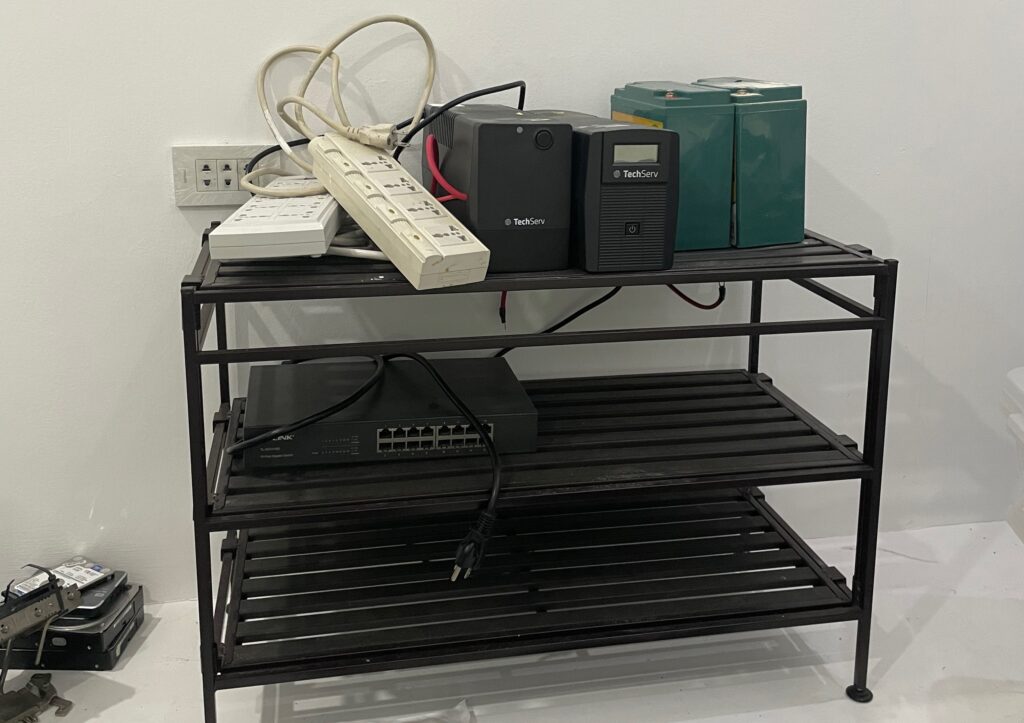
- Shoe rack – I used this as a poor man’s rack. It become unmanageable quickly
- 16-port TP Link switch – turns out I don’t use more than 8 ports anymore. With a new 10Gbe switch, it’s more than enough
- 2 extension cord
- 2 UPS with modified batteries
Installing new stuff
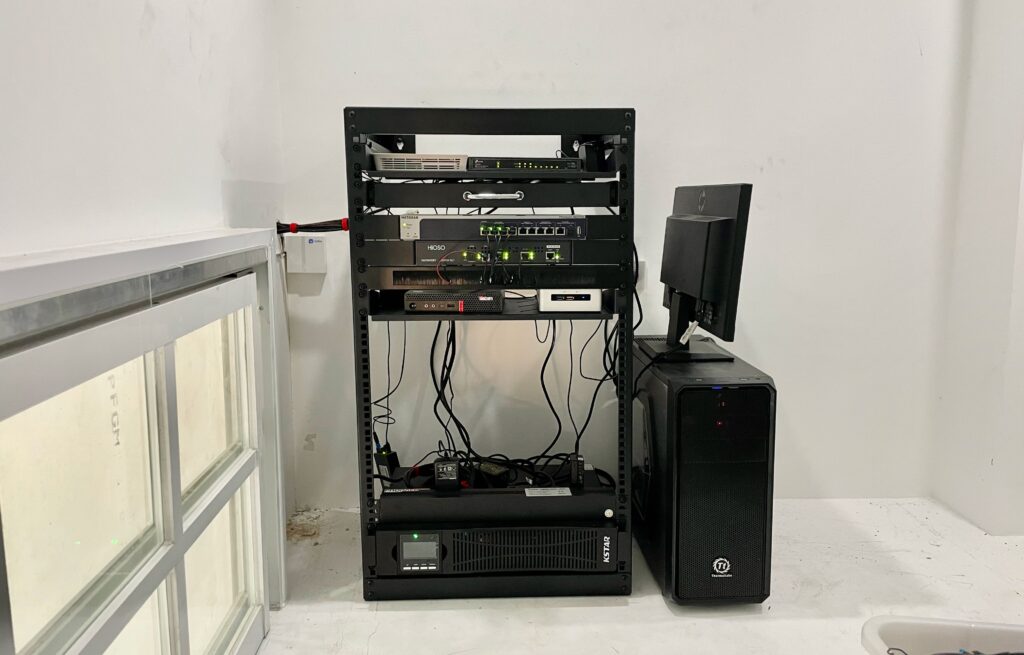
- KStar On-line UPS (bottom)
- Netgear 10Gbe Switch
- Rack sliding cabinet – I felt like I needed this to put loose items such as USB keyboard and mouse, extra SFP modules, rack screws. I had instances where I spent an afternoon looking for those.
Finished everything in 2 hours. Listing out what I want to accomplish was handy. It keep me on-track. I feel good about the progress I made with my homelab.