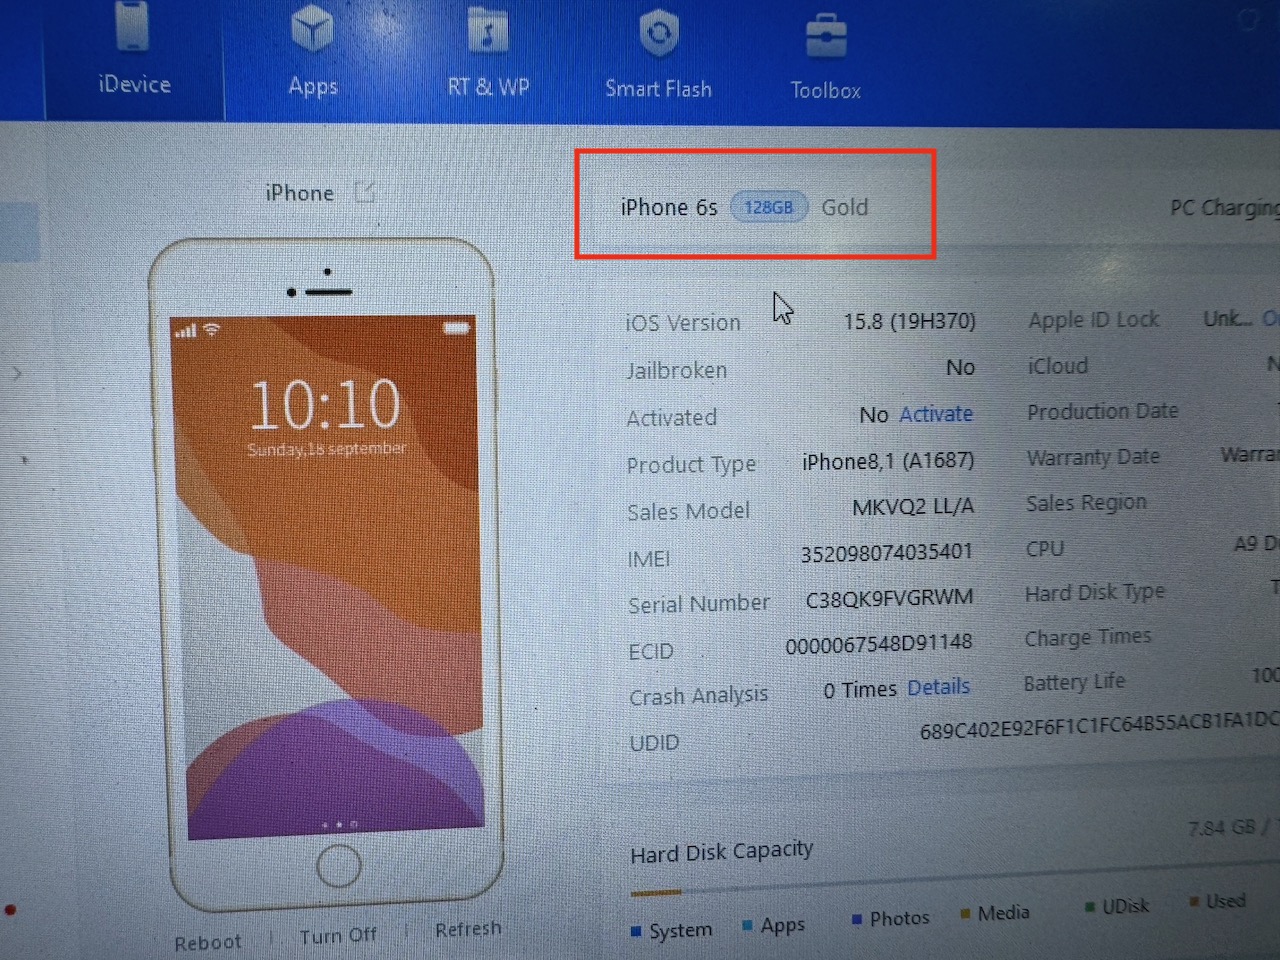
I stumbled upon a video that upgrades an iPhone 6s from 16gb to 128gb a couple of years back. It was super fascinating to learn that it was possible at all. It remained at the back of my head.
Years later (this year), I finally pulled the trigger to try it out when I found out that tools needed to do it are relatively cheap, and a broken 8-year-old iPhone 6s are cheap too. I have zero soldering skills, let alone microsoldering. But I just had to try it.
First attempt: broke the PCB pads
The NAND IC is the actual storage and what needs to be replaced to upgrade. What I did not expect was it’s soldering back the IC that’s the easy part. Removing the factory-soldered IC is hard because aside from the solder itself sticking to the motherboard, there’s an underfill that acts as an adhesive too.
I’m not supposed to put force pulling it out, but I did not know nor have the experience to know which is which.
If the PCB pads are broken, it’s connection to wherever it’s supposed to connect is gone.
Giving up: maybe this is not for me
I burned through 3 iPhone 6s at this point and I kept doing the same mistake of breaking the PCB pads. I’m losing hope and very frustrated and started questioning why I’m doing this at all.
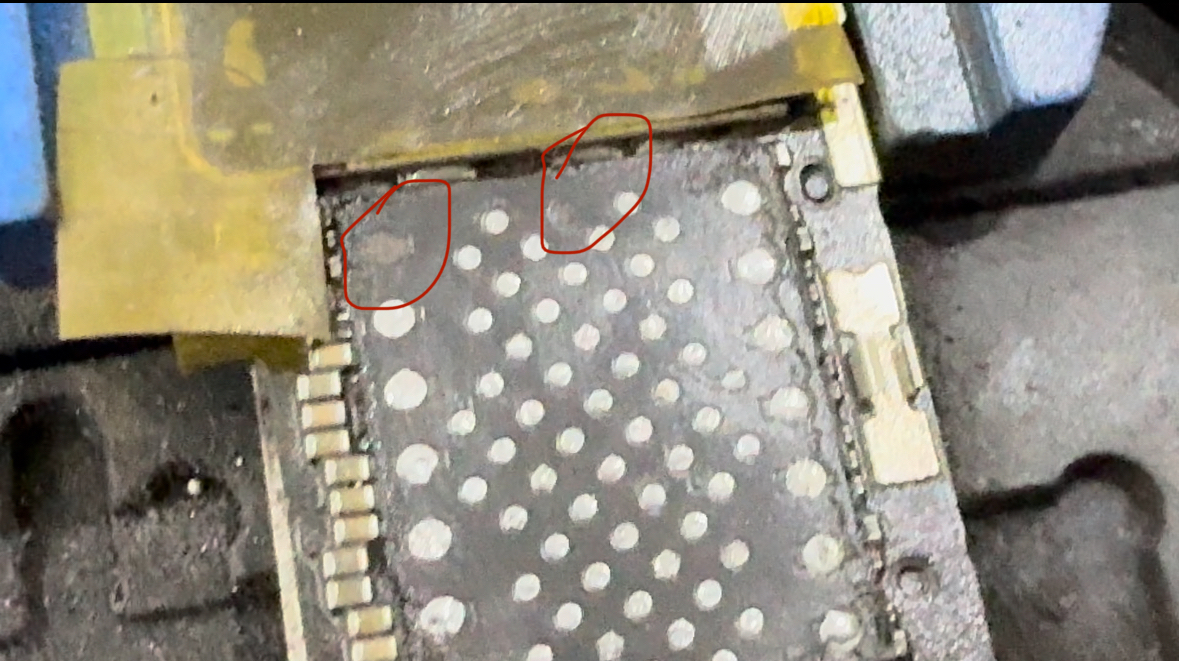
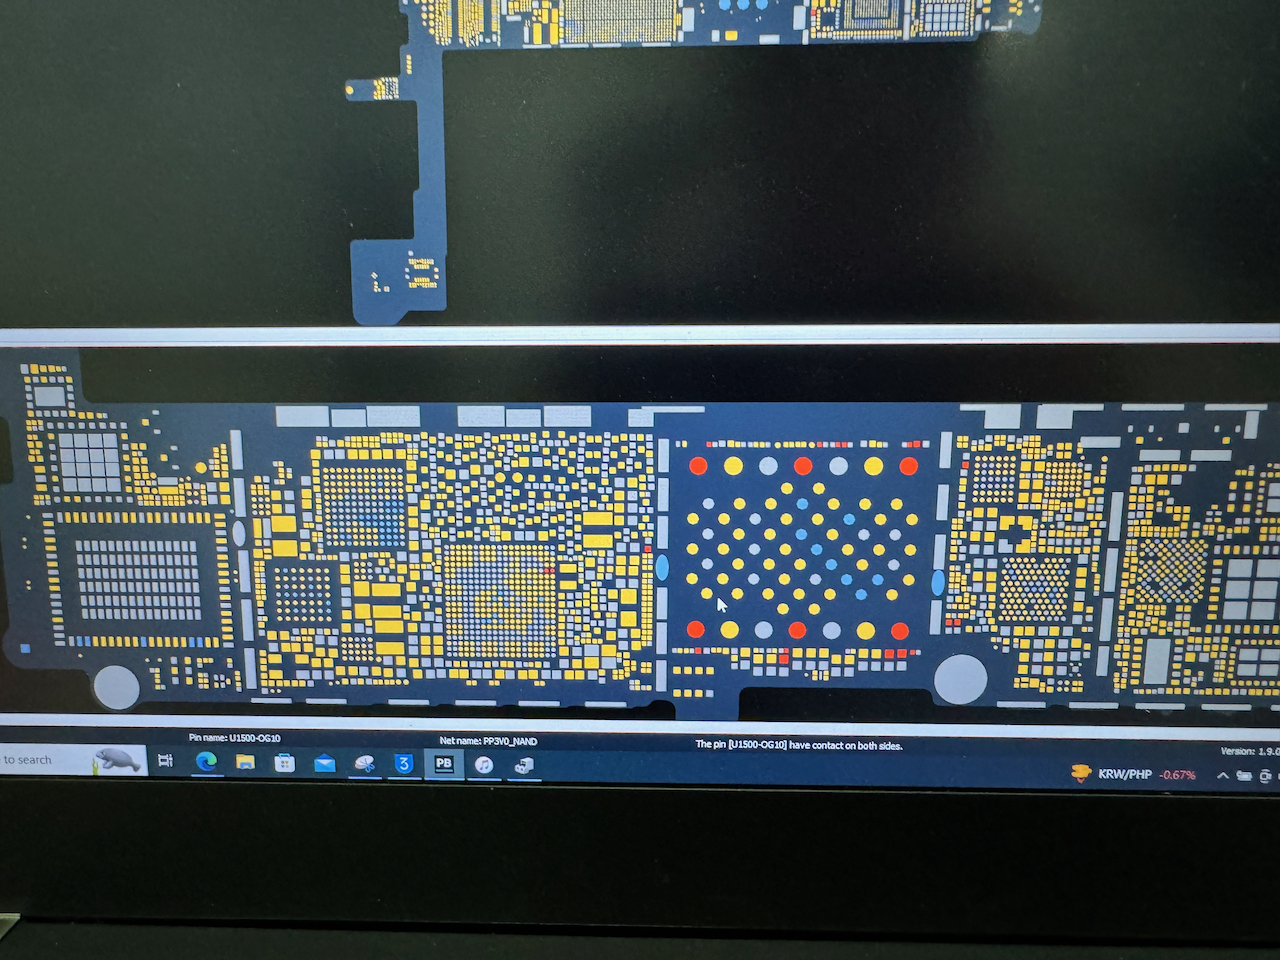
Luckily, on my 4th attempt, the pads I’ve broke turned out to be “redundant” pads. It means as long as at least one can make a good connection, it will still work.
Super happy when I learned this!
Reballing and putting back the NAND
To put back the NAND IC, it needs to be reballed. Reballing is putting back the solder on it’s connection points that will be then used to connect back to the motherboard.
I used a medium-temperature solder paste with BGA70 stencil. This turned out to be easy and fun to do.
Putting it back is as easy as placing it in the correct orientation and heating it up. There will be a small movement as it place itself when the solder melt.
Finally made it work!
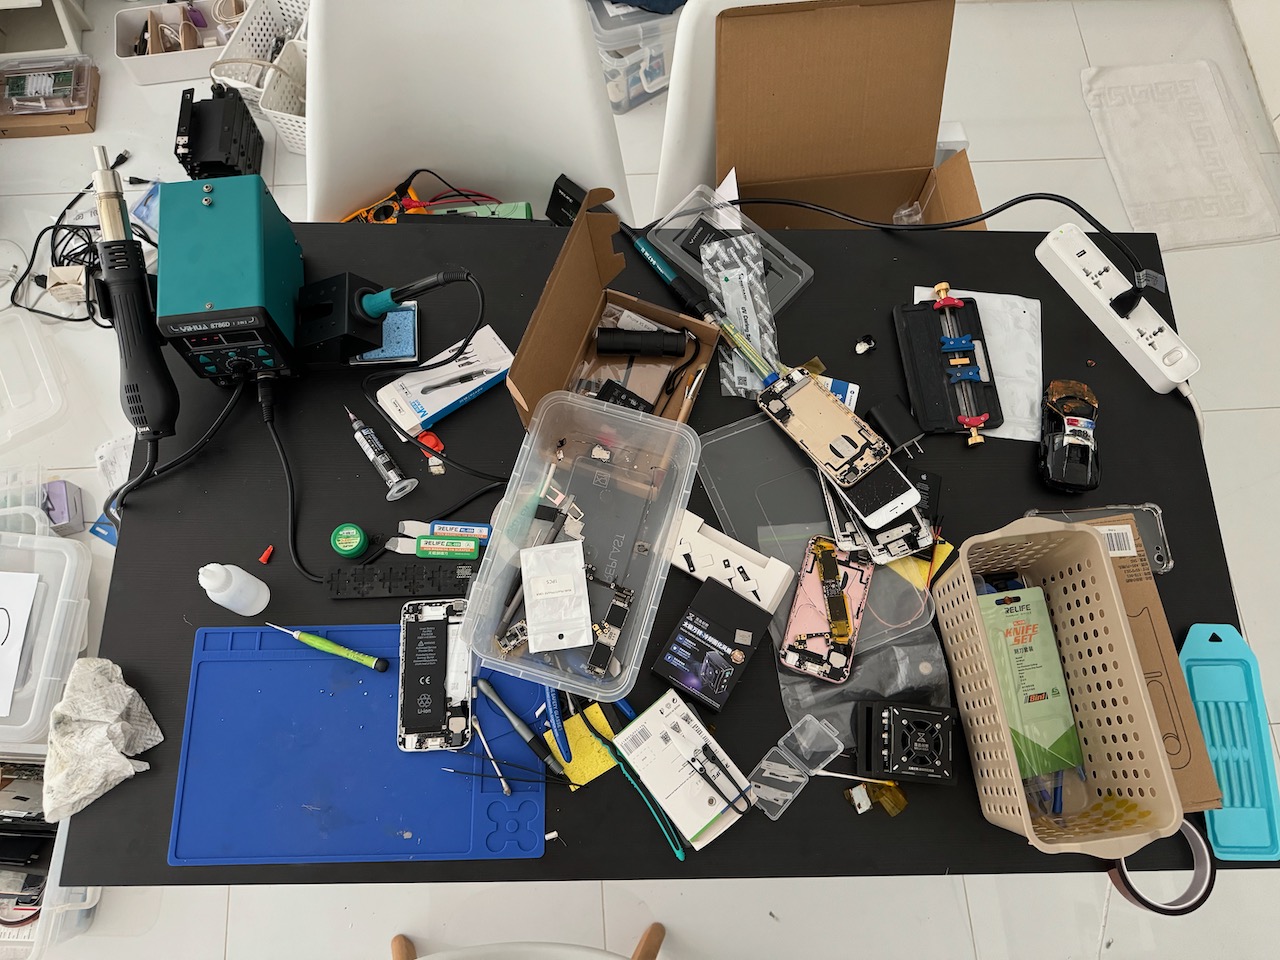
All these happened in span of weeks. For every failed attempt, I had to source another cheap broken iPhone 6s. I can only try again if I have another phone available. So there’s a lot of pent-up frustration.
I haven’t been able to clean up one of my tables because I haven’t finished this hobby yet. All the parts are scattered around, and it’s still a work in progress.
So when I finally made it, I felt so relieved. I can finally move on.
Things I learned:
- Previously, my approach to malfunctioning electronics was simple: if it didn’t power up, the whole component has to be replaced. Board-level repair was not even considered. Now, I’ve become more comfortable with electronics, and I’ve gained a better understanding of how they work.
- Electronic components can surprisingly withstand a lot of heat. My hot air workstation is set at 360C to remove and put back components, and it still work!
- It’s hard to do microsoldering without a microscope. But a microscope’s price is hard to justify for something I do not do professionally. It costs around 14k. So I tried to make do with my 20/20 vision and my phone’s macro lens.
I could not see this helping me with my professional career at all. This is just one of those passionate, dedication to the pursuit of short-term goals. This is just me indulging my curiosity.
I can finally clean up my dining table.