Setting up Traefik as a Reverse Proxy in Proxmox
I wanted a simple way to run Traefik in my homelab with minimal setup friction, so I started with the Proxmox community script. It spins up a working LXC with Traefik already installed and running. I use it as a replacement for Nginx Proxy Manager and as the single entry point to every service in my homelab.
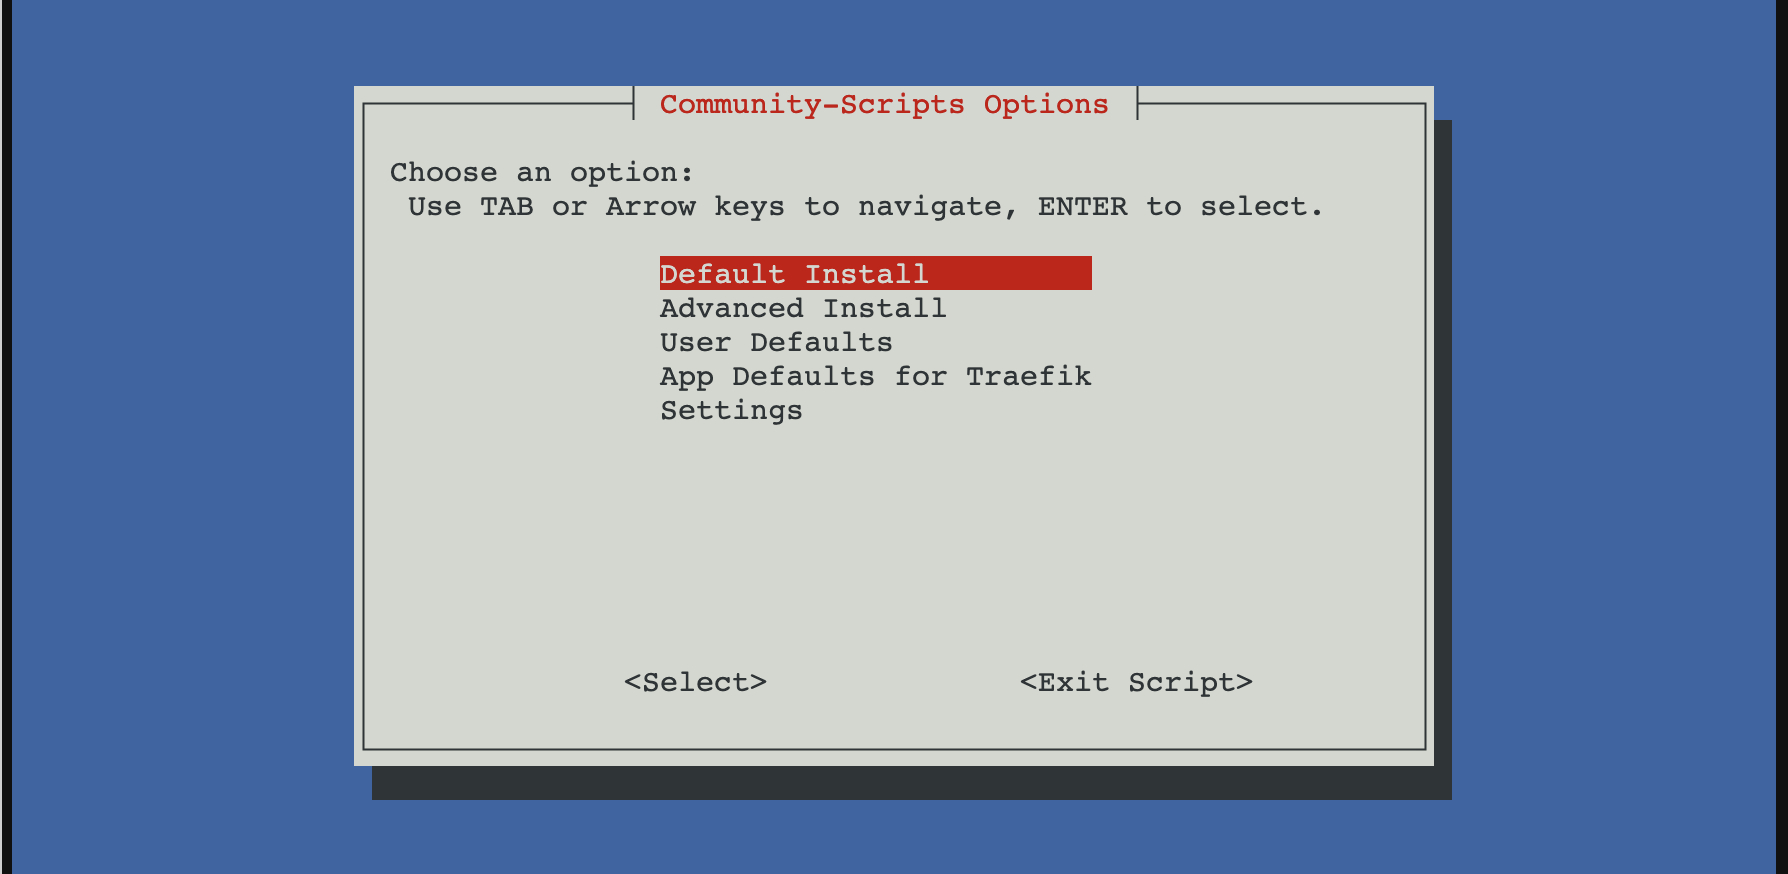
Install Traefik using the Proxmox community script
From the Proxmox host:
bash -c "$(curl -fsSL https://raw.githubusercontent.com/community-scripts/ProxmoxVE/main/ct/traefik.sh)"
After install, Traefik runs as a systemd service inside the LXC.
Static config:
/etc/traefik/traefik.yaml
Dynamic config (file provider):
/etc/traefik/conf.d/
Basic layout
I kept things simple and explicit.
- Static config for entry points, providers, ACME
- File provider for routers and services
- One service per file
This makes failures obvious and debugging easier.
Entry points
No global redirects.
entryPoints:
  web:
    address: ":80"
  websecure:
    address: ":443"
Redirects are handled later using middleware.
File provider
Enabled in the static config:
providers:
  file:
    directory: /etc/traefik/conf.d/
    watch: true
Let’s Encrypt with HTTP-01
This is where most of the issues were.
certificatesResolvers:
  letsencrypt:
    acme:
      email: "[email protected]"
      storage: /etc/traefik/ssl/acme.json
      httpChallenge:
        entryPoint: web
Key points:
- HTTP-01 must be explicitly enabled
- Port 80 must not force-redirect to HTTPS
- The ACME storage path must be exact
A single-character typo in the storage path caused Traefik to fail silently. acme.json stayed empty and no certificate was ever requested.
Router example
http:
  routers:
    nvr:
      rule: "Host(`nvr.example.com`)"
      entryPoints:
        - websecure
      tls:
        certResolver: letsencrypt
      service: nvr

  services:
    nvr:
      loadBalancer:
        servers:
          - url: "http://192.168.0.155:5000"
ACME only runs after a router with tls.certResolver matches an incoming HTTPS request. Nothing happens on startup.
Redirect HTTP to HTTPS properly
Do not use entryPoint-level redirects. They break ACME.
Use middleware instead:
http:
  middlewares:
    redirect-https:
      redirectScheme:
        scheme: https
        permanent: true
Apply it only to normal routers.
Logging with systemd
Traefik was running, but logs were invisible until logging was explicitly enabled.
log:
  level: DEBUG
Once enabled, journald immediately showed useful errors like:
HTTP challenge is not enabled
Without logs, this setup looks like it is working while doing nothing.
Notes
- EntryPoint-level redirects break ACME
- HTTP-01 must be explicitly enabled
- Traefik fails silently on ACME storage path errors
- Certificates are requested only after a matching HTTPS request
- Logs are not optional when running under systemd
Once those were aligned, Let’s Encrypt issued certificates immediately.
After setting Traefik, I just need to configure my router to forward external requests to my Traefik local IP, then it will proxy the request to another service based on the domain.